|
|
If you are a installer, this is targeted at non-installers,
but enjoy anyway.
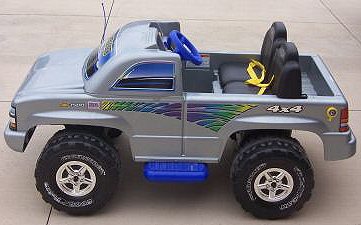
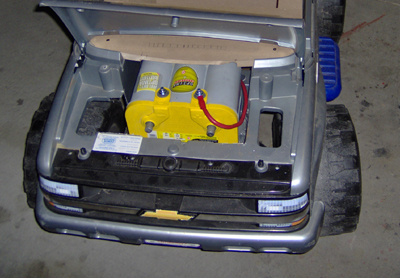
First thing on this Silverado Power Wheels, was
to Remove the original small 12 volt battery and
surrounding plastic, to install an Optima Yellow
Top car battery, which is a sealed battery so it
can be tipped on its side to fit under the hood.
The power wire is 4 gauge scraps left over from
various other installs.
My Son started to remove unwanted decals.
|
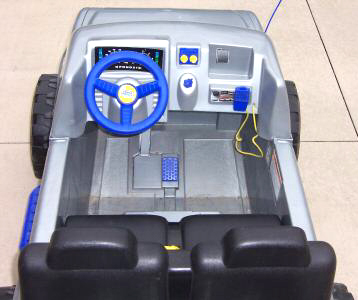
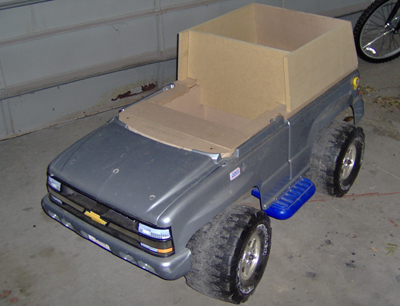
The next thing was to remove the original controls,
steering wheel, foot pedal, and the shifter, and
entire dash/windshield combo and seats.
The other unneeded plastic, where the speaker enclosure
will be built, is also removed. Then the layout
was started. This wasn't like a normal car audio
install, is was just started, and took shape along
the way.
3/4" MDF wood is used throughout the entire
enclosure and the "passenger compartment"
.
|
|
|
|
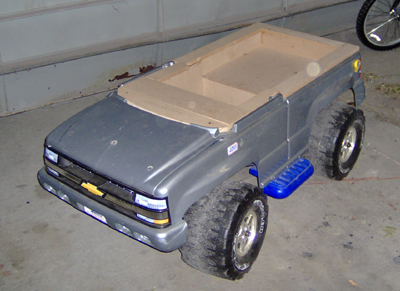
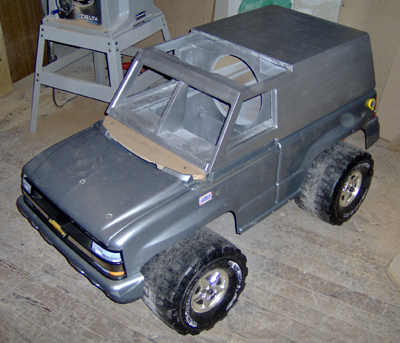
The back of the truck was lined with the 3/4"
MDF wood, and brought up and over to the body sides
for a better cosmetic look on this build.
The front compartment was dipped down to the floor
boards which is also entirely 3/4" MDF.
A front curved board covers the back of the battery
so it isn't visible when the hood is closed.
|
The back, and sides of the speaker enclosure, are
all angled for a better "stock" look.
The entire enclosure is glued and nailed together,
screws are also recommended, but this is just for
fun, so that's another step to take up time!
Got to love the air nailer!
The front speaker board is straight to fire at
an angled windshield.
|
|
|
|
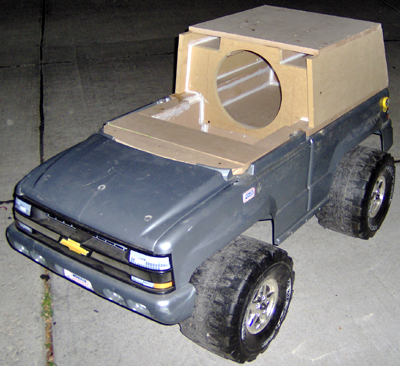
The speaker hole was cut out for the
12" JL Audio W3 subwoofer.
The dual port openings are above the subwoofer
hole.
Sure glad then front wasn't nailed in yet, it wouldn't
have been real fun getting the holes cut out, in
place.
The truck is getting pretty heavy.
|
Now the ports where installed and the entire enclosure
and front compartment was completely sealed with
caulk. Then the top of the speaker enclosure was
cut and angled to match the sides and back. The
plastic side steps were also removed for future
under body lighting.
No changing anything now, it's all glued and nailed.
A few screws were used for some touchy areas.
The internal Cubic Feet of air space for the sub
was estimated, and not sure how accurate it will
be. Somewhere around 1.9 cu. ft.
|
|
|
|
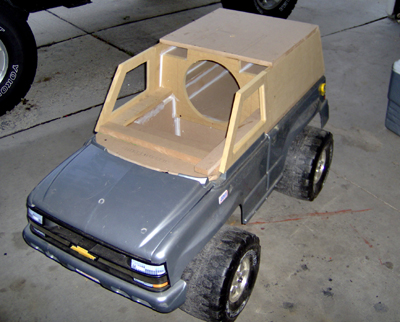
On to the side windows.
Pretty tough with the 3 different angles.
The window openings are routered for a stock look.
|
The middle brace or top of the windshield took
2 tries to get right.
The angles where getting to be a bid of a hassle.
Now wishing the thing was a normal square!
The Lexon side windows where cut to fit, from an
old broken window from the garage.
|
|
|
|
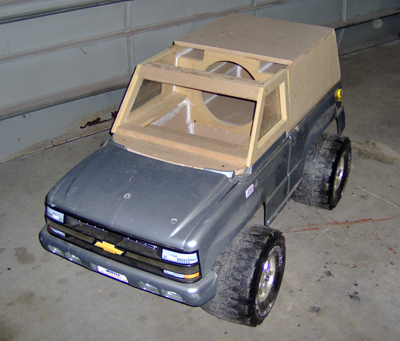
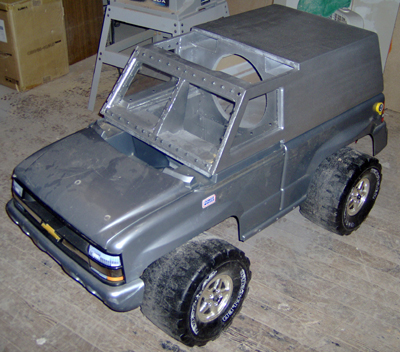
Bondo, sanding, and primer, more sanding.
A coat of metallic silver paint makes the truck
more like a toy again.
Before the airbrush and graphics, the silver paint
doesn't match the silver plastic yet.
The clear coat will help tint the paint to match
better.
|
Side windows, and windshield clear caulked and
installed.
Now it is looking more like an armored car!
|
|
|
|
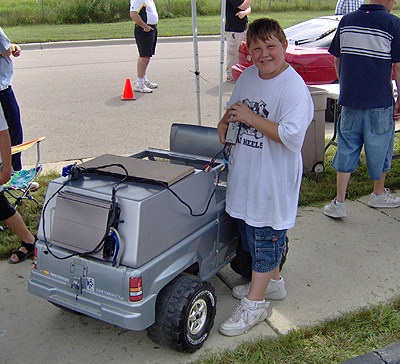
The factory Power Wheels shifter was relocated
into the back of the truck, and the foot petal wire
was lengthened to walk behind the truck, and wired
the stereo wiring to the amplifier.
Installation finished with only hours before the
first show in Madison, WI.
Older model Kenwood CD player (hand held)
500 watt TMA amplifier and a JL Audio W3 Subwoofer.
|
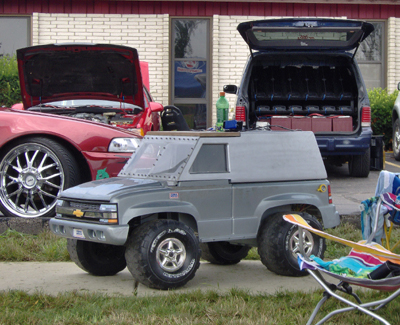
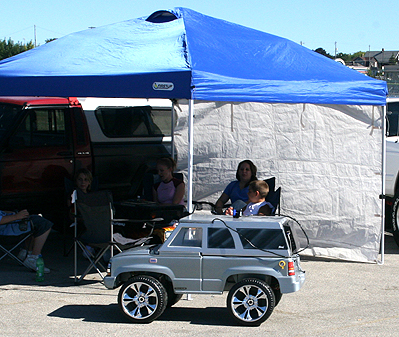
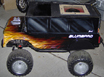
The first time the silver truck was run, it got
a 159.2 db, but came in second, the little Jeep
on the right, was redone since last show, and tied
the 160.2 score, my son's other truck got (flame
truck).
All of the kids at the stereo shows get along great,
trading secrets, and what they did to the Power
Wheels.
|
|
|
|
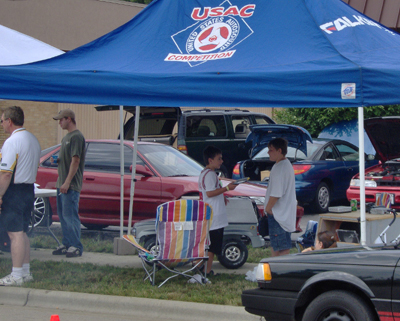
The mini-van behind the Power Wheels, was the only
one at the entire show that is louder!
(those are all amplifiers & batteries in the
back!)
Alot of people said the silver truck looks like
a Tahoe or a Denali.
The truck looks pretty good even without finishing
the paint job yet,
|
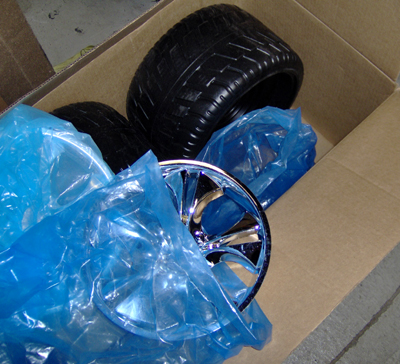
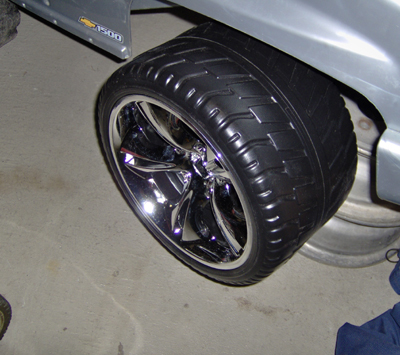
The new tires and rims came!
Went from a 6 1/2" to an 11" hub cap.
The tires are a very low profile.
Possibly scaled to 22" rims??
from www.mendingshed.com
|
|
|
|
The conversion was possible from advise from www.mendingshed.com.
Mike from mendingshed.com told me that the wheels
from a newer Silverado will fit, but I will need
2 bushings for the front wheels, and shorten the
axles, due to the deeper wheels.
2 inches of the front axles were trimmed off on
each side (about, don't quote me).
I also added new thicker washers on the inside
on the axle.
|
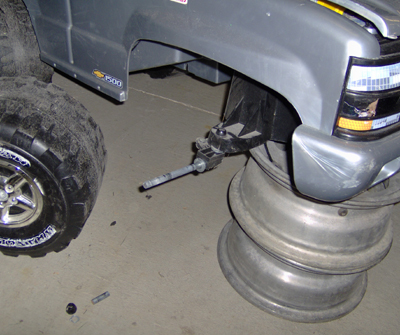
Here is the pic before the axle was cut, with the
new tire on.
The hub cap come out a little bit more and the
push nuts cover a little, but about 2 more inches
of axle was still exposed.
|
|
|
|
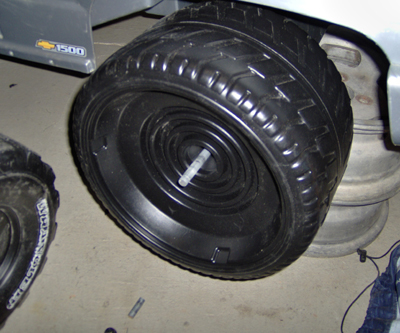
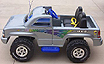
With the shortened axle and the
hub cap and push nut in place, the tire is ready for
the road, or sidewalk?
|
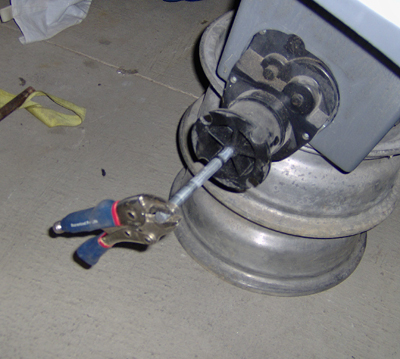
The rear axles do not need the new bushings, but
is is a free moving part, it is held in place only
when both wheels are installed.
A vicegrip was all that was needed to cut the 4"
off the rear axle Only one cut is needed, because
it slides all the way through.
Getting the push nuts back on was kind of fun,
needed 2 people, I couldn't lay it on it's side
to hold the other side on when hammering the opposite
one, I didn't want to unhook all of the stereo stuff.
|
|
|
|
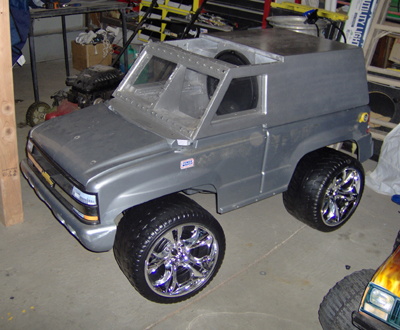
Starting to look more like a stereo car.
Power Wheels OverHaul'n?
The old wheels are being donated to the other WI
SPL Power Wheels. The "Barbie Jeep" will
no longer have pink tires!!
|
Simulated airbrushed windows were completed the
night before USACi regionals.
Got 3rd place with a
157.8
the same battery was already used in the other
power wheels, so the battery was worn down a bit.
|
|