|
Here
are the basic tools & supplies recommended to complete a
subwoofer box:
|

Pencil, Tape Measure, Compass, Jig Saw, Drill, Wood Glue,
Caulk Gun, Caulk, Dry Wall Screws, Countersink Drill Bit
*WARNING: MDF Wood
Splits very easily, besure to predrill all screw holes*
|
Save Time
& Effort Cutting the Majority of the Project - Have
someone else do it! --- Most Helpful Hint Yet:
|
|
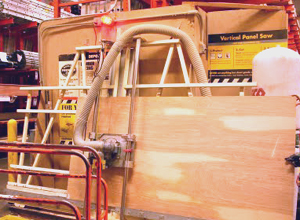 |
Getting the sheet of wood cut to the size needed for the
project, isn't as hard as many think.
Visit a large local lumber store (one that has a "Panel
Saw" on site), bring the "Cut List" from the
plans.
*You can have the store cut the wood to the sizes you
need. I'd bring a tape measure with you to double check.
They normally charge about .75 a cut, but worth every
penny, when hauling a sheet of MDF home.
This will help in the hauling of the wood. Once the wood
is cut, it will fit in just about any vehicle.
|
|
The most asked
question is, "How do I cut out the subwoofer holes?"
|
Here is a quick run down on a quick, cheap,
easy way to get the holes cut out:
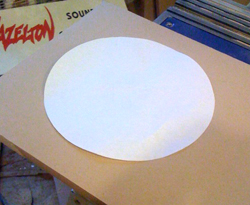
Find a template (hopefully one came with your
subwoofer, either made from paper or cardboard. Make sure it
is correct, subwoofers all have diff. hole sizes, measure on
the subwoofer too. (If you don't have one, you will need to
measure the subwoofer, and make a template, or use a compass
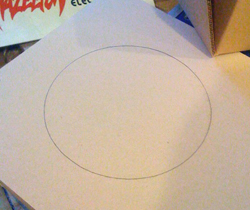
to draw the hole). Use a pencil, and trace the template onto
the wood, where you want to place the subwoofer on the board
(don't go to close to an edge).
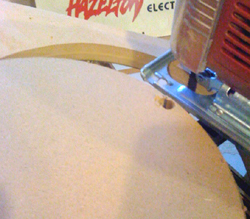
Using a drill bit large enough to fit the jig
saw blade into, drill a hole on the inside of the circle, right
on the line, but not outside of it. Using the Jig Saw, you need
to follow the line around the subwoofer hole. Take your time,
it isn't good to go fast, stay on the line the best as you can,
without tilting the jig saw.
**Watch for any objects under the wood, many
people have cut the table the were working on, when rotating
while cutting.
|
|
|
|
|
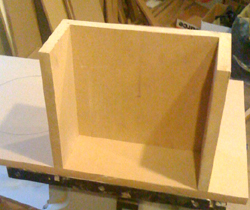
Another question
is reguarding the port placement/installation,
|
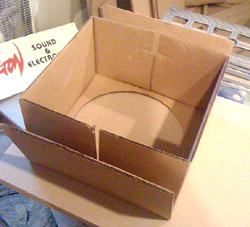
The majority of my designs, require the port
assembly to be placed flush with the front (or woofer) board.
This means, the "legs" of the port meet flush with
the bottom edge of the subwoofer board. The port assembly
is also installed behind the front board as well.
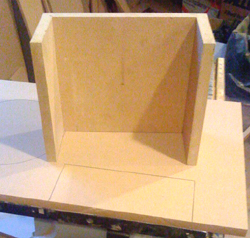
To cut out the port hole on the front board,
place the port on the front board, make sure it is perfectly
flush with the bottom edge of the front board (poss. centered
on the board as well), and use a pencil to trace the inside
of the port onto the front board. Use a Jig Saw to cut on
the inside of the lines you traced. Turn the Jig Saw before
getting to the corners, and come back after it is cut out
to re-trim the corners.
|
|
There are many ways
to enhance the project, if you are comfortable with wood working:
|
|
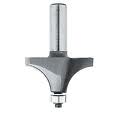
If you have router,
you can round the edges of the port.
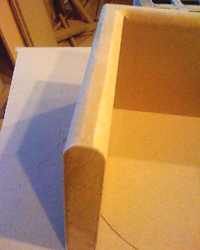
Using a rounded
router bit, router only the edges of the port, that face inside
of the box, before installing inside the box. Also on the outside
of the front board around the port opening, after installing
the port.
This will allow
better airflow in & out of the port opening, and reduce
any port noise.
This also can
be done with sand paper, but takes alot more time.
|
|
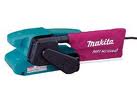 |
When the entire project is
completed, many first time builders have the edges & joints
off by a bit.
This can be easily repaired
with a little belt sanding, to even out the unmatched surfaces.
|
I include more details with the
plans, and all customers are welcome to ask any questions.
Technical support available by email
or phone
I request all of the customers to
take some pics while building the projects, and send them in.
I post all the customer pics in
the Customer
Gallery.
|